Preparing a room for plastering means clearing the space and having the surfaces ready before the tradesperson arrives. Most plasterers expect the room to be empty, and moving furniture yourself avoids the typical £50 to £100 charge if someone else does it. You need to agree exactly what preparation is included before the first day so you avoid unexpected costs and delays.
Why preparing a room for plastering matters
Plastering is wet, heavy and dusty work. The level of disruption depends on the scope of your job. A skim is a thin finishing coat, a few millimetres thick, applied over sound plaster or plasterboard. A full replaster means hacking off failed plaster and applying a backing coat plus a finish coat, or fixing new plasterboard and skimming it, known in the trade as board and skim.
Other common jobs include dot and dab, which is plasterboard stuck directly to masonry on dabs of adhesive, or overboarding, where new plasterboard is fixed under an old ceiling to hide damage. If you live in an older property, you might have lath and plaster, which is traditional lime plaster applied onto timber laths.
Good preparation protects your belongings and ensures the plasterer can start work immediately. Plasterers price per job after seeing it, based on the area in square metres, the state of the background, ceiling height and access, and preparation tasks like stripping wallpaper, removing loose plaster, sealing painted surfaces and dealing with Artex. Ceilings are usually priced separately and small jobs carry a minimum charge.
Plastering is not a licensed trade. There is no legal register like the one for gas engineers, so evidence of past work matters when choosing someone. A CSCS card is for construction sites, not proof of quality on domestic work. You can look for membership of the FIS, which is the trade body for the finishes and interiors sector, or TrustMark, which is the government-endorsed quality scheme.
Clear the room of furniture and soft furnishings
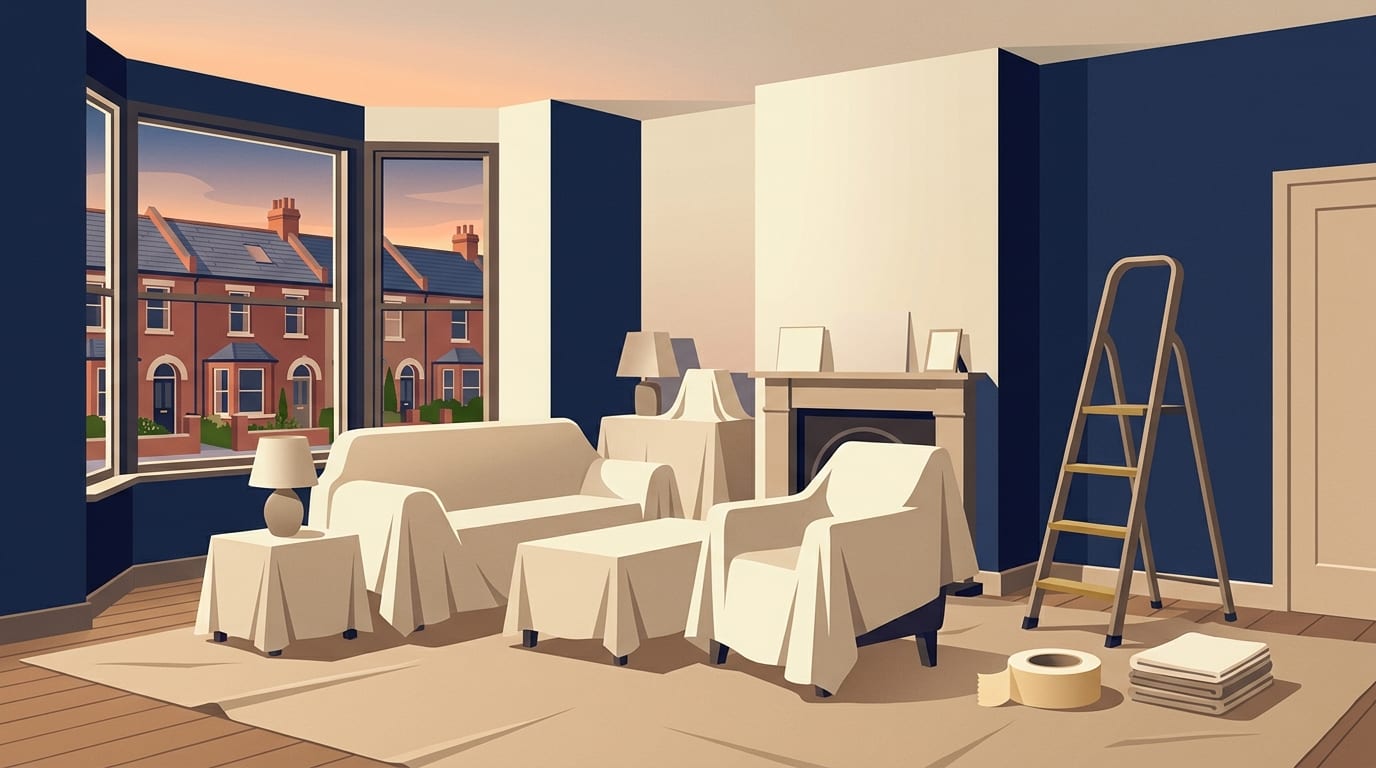
Most plasterers will ask that the room they are working in be cleared before they arrive. An empty room gives them the space to mix materials, set up their access equipment, and move safely with wide trowels. It also keeps your belongings away from airborne dust and wet materials.
You should remove furniture where possible. Take out beds, sofas, tables, electronics and any soft furnishings such as curtains and blinds. If you leave items in the room, the tradesperson has to work around them, which slows down the job and increases the risk of accidental damage.
If you cannot move heavy items yourself, some tradespeople will do it for you, but they usually charge for the extra time and effort.
To clear the room effectively, follow these steps before the first day:
- Take down all pictures, mirrors and wall hangings.
- Remove curtains, blinds and their fitting brackets from the windows.
- Carry out all small furniture, electronics and rugs.
- Empty large wardrobes or bookcases to make them lighter if they need to be moved.
- Push any immovable heavy furniture to the centre of the room.
Deal with wallpaper, radiators and electrical fittings
Walls need to be bare and sound before new plaster goes on. Stripping wallpaper is part of the preparation. Skimming over loose, damp or unsealed painted surfaces is a common reason for the new coat to crack or peel, so ask your plasterer what they need the wall to be like. Stripping wallpaper takes time, and you can either do it yourself or pay someone else.
Radiators may need to be removed so the wall can be skimmed properly behind them. A plumber does this work, not the property owner, if it involves draining the heating system. Plastering behind a removed radiator gives a smooth, continuous finish that looks much better once painted.
Electrical fittings also need attention. Leave sockets and switches to a qualified electrician, or agree with the plasterer who deals with them. Do not unscrew or remove them yourself.
Here is a summary of the typical costs if you pay a professional to do this preparation work for you.
|
Preparation task |
Typical cost |
|---|---|
|
Moving furniture |
£50 to £100 |
|
Stripping wallpaper for a single wall |
£40 to £120 |
|
Stripping wallpaper for a large room |
£300 to £600 |
|
Radiator removal and refitting |
£80 to £250 |
These are typical 2026 prices for these extras when someone else does them, and local quotes will differ. Doing some of this yourself may reduce the extras on your quote. Read about plastering over old wallpaper to understand why this preparation is so important.
Protect your floors and anything that stays behind
Plaster dust gets everywhere. Even with the most careful tradesperson, there will be splashes and dust during preparation and the plastering itself. You must protect the surfaces that remain in the room.
Plaster splashes can stain timber, fabric and porous flooring. You need to cover floors using secure protective sheeting. Dust sheets alone might slip or let wet blobs of plaster soak through to the carpet or floorboards below.
Professionals usually sheet up areas before they start, but you should confirm this is included in your contract. If heavy furniture has to stay in the centre of the room, cover it completely with plastic sheeting and tape the edges down.
Once the work is finished and the plasterer has packed up, you should keep the dust sheets in place while the dust settles. You will then need to vacuum carefully afterwards to capture the fine white powder that escapes into corners and hallways.
Asbestos and textured coatings in older homes
Older homes often contain hazardous materials hidden in the fabric of the building. The Health and Safety Executive states that asbestos may be part of any domestic building built or refurbished before the year 2000. This includes textured decorative coatings, which are often found on ceilings and walls.
You must tell builders about any textured coatings before they start work. Do not try to repair or remove any asbestos materials yourself, as this work requires specific training. Do not sand, scrape or drill a suspect textured coating, because disturbing one that contains asbestos can be dangerous.
Working on these coatings does not normally need a licensed contractor, but it must be done by people trained to work safely with asbestos. If your home was built or refurbished before 2000, tell your plasterer about any textured coating before work starts, and leave it alone until a trained professional has advised.
Understand the building regulations for major plastering work
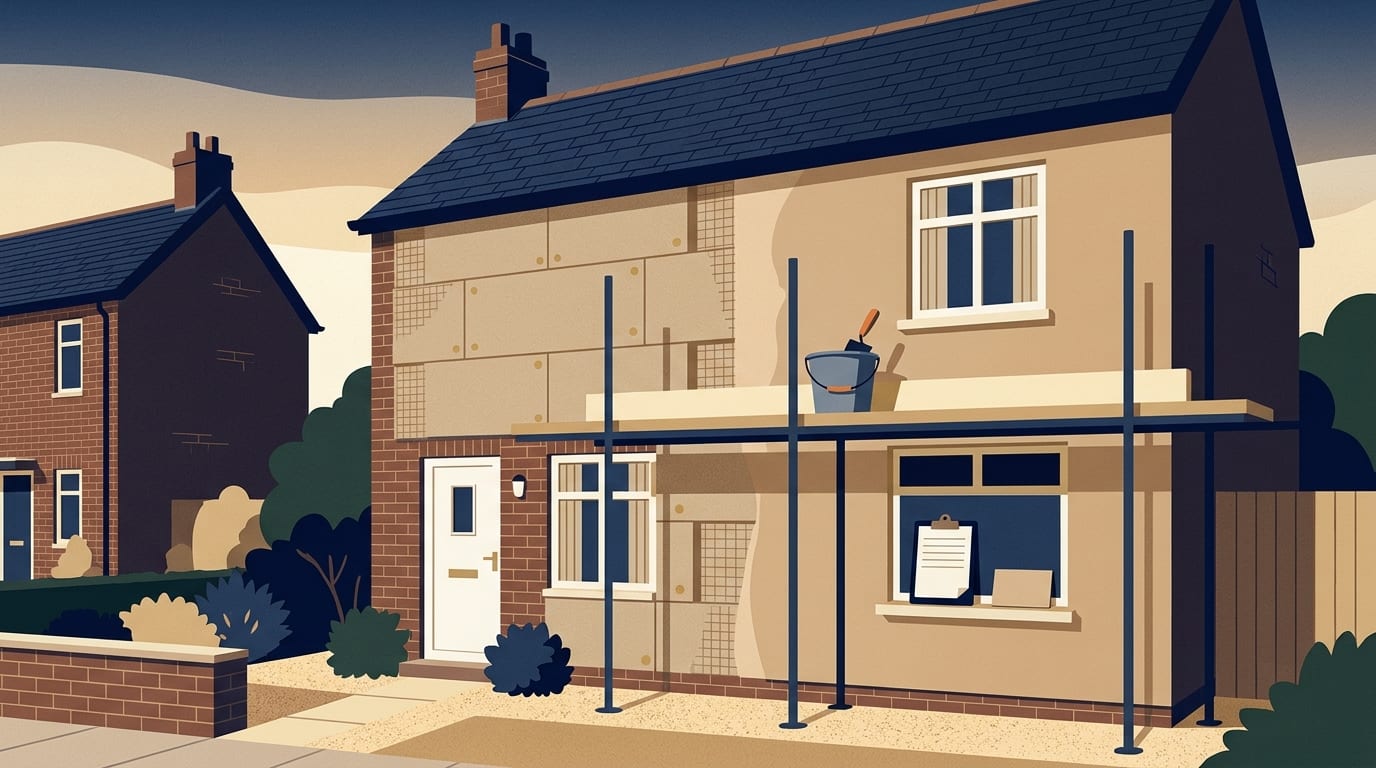
If your preparation involves stripping a room back to the bare brick or assessing the outside of your property, you need to understand the rules that govern major renovations. In England, where 25 per cent or more of an external wall is re-plastered or re-lined internally, the building regulations normally apply and the wall's insulation would normally have to be improved. The same 25 per cent rule applies if an external wall is re-rendered.
External render comes as sand and cement, lime, pebbledash, monocouche and thin-coat acrylic or silicone systems. You will often hear tradespeople mention K Rend, which is a manufacturer's brand name often used loosely for silicone render.
Rendering needs no planning permission in England if materials are of similar appearance to the existing house. However, permission is required in conservation areas, National Parks, Areas of Outstanding Natural Beauty and the Broads. If you are elsewhere or unsure, you should check with your local council. Listed buildings need consent for any significant work, inside or out.
If you are preparing an older property, be careful with the materials you choose. Putting gypsum or cement on old lime walls is a common cause of failure. Conservation bodies advise repairing original lime plaster where possible and replacing like for like.
Agree who does the preparation work in writing
Cash-only deals with nothing in writing are a common reason home improvements go wrong. You should always try to get a contract in writing before the work begins. Citizens Advice recommends checking your buildings insurance with your insurer before work starts to ensure you are covered for major renovations.
A written quote is a fixed price, whereas an estimate is just a rough guess. Citizens Advice suggests getting three written quotes, signing a written contract, paying deposits of no more than 25 per cent, and paying by card. You might also be able to cancel within 14 days of agreeing a contract.
Your written quote should list these specific details:
- A fixed total price for the entire job.
- A clear breakdown of the work and the materials being used.
- How long the price is valid for.
- Whether VAT is included in the final figure.
- Who is responsible for waste removal and floor protection.
If the quote omits preparation, ceilings, scaffolding or waste removal, you might face extra charges on the final bill. A trader who carries waste must be a registered waste carrier, and the register is public so you can check their credentials.
Under the Consumer Rights Act 2015, work must be done with reasonable care and skill. If the work is substandard, the customer can ask for it to be put right or seek a partial or full refund. If you encounter disputes, you should point your complaint to Citizens Advice.
Manage heat and ventilation for drying
New plaster contains a lot of water and it needs the right environment to cure and dry properly. Drying depends heavily on ventilation and weather conditions. Opening windows provides adequate ventilation and lets moist air escape from the room, which speeds up the drying process.
If you are having work done during the winter, you must manage the temperature carefully. Local council building control guidance on cold weather states that no plastering or screeding should take place unless the building is free from frost. Internal heating is acceptable, but heaters should not produce excessive vapour in the dwelling.
You need to plan for the room being out of use while the plaster dries. Wait until the plaster has dried before you paint.
|
Stage of work |
Typical timeframe |
|---|---|
|
Skimming a standard room |
1 to 2 days |
|
Ready for a mist coat |
3 to 7 days |
|
Full drying time |
Up to 2 weeks |
These are typical timings for a standard room. Your exact drying time will depend on the weather and how well you ventilate the room. You can learn more about how long plaster takes to dry before decorating.
What to expect on the day and afterwards
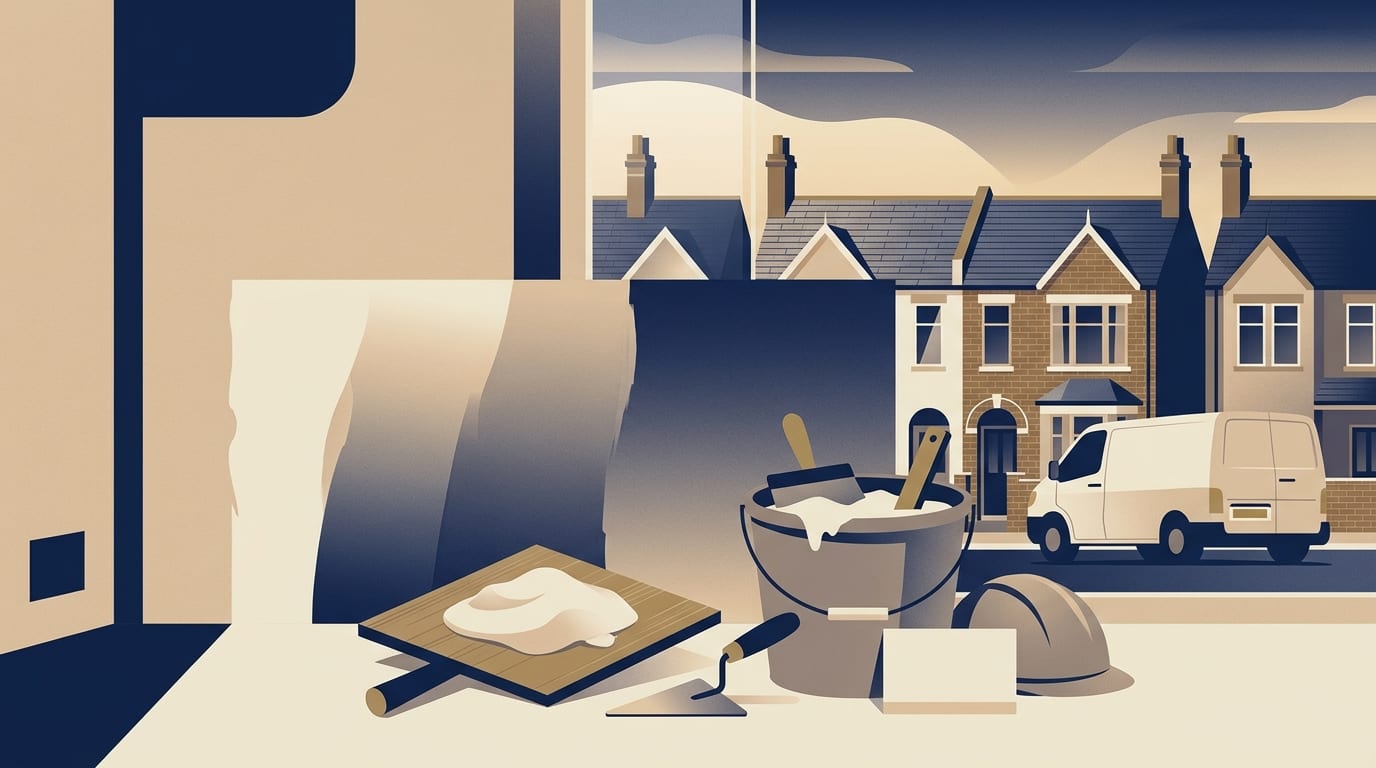
On the first day, the plasterer will bring in their tools, mixing buckets and bags of plaster. They need a clear path from their van to the room, so you should protect the hallway floors as well. You should ask what the plasterer needs in terms of access to water and power.
Surface preparation is normally included in a plasterer's quote, so confirm what it covers. Skimming over loose, damp or unsealed painted surfaces is a common reason for the new coat to crack or peel.
Before paying the final balance, check the walls in daylight. Look across the surface rather than straight at it. The finish should be smooth, flat and free of trowel marks or a wavy finish that you will see every day once it is painted.
Common questions
Do I need to wash the walls before the plasterer arrives?
Surface preparation is normally included in a plasterer's quote, so ask what they include and what they need you to do before the first day.
Will the plasterer take away the old plaster and waste?
Waste removal is not automatically included in every quote. You must ask for it to be written into the contract and ensure the tradesperson is a registered waste carrier. If it is not listed in the fixed price, you will have to dispose of the empty bags and old plaster yourself.
Can I leave the carpet down while the room is plastered?
You can leave the carpet down, but it is risky because plaster splashes can stain timber, fabric and porous flooring. If the carpet is staying, you must cover it entirely with secure protective sheeting rather than just loose dust sheets.
Should I remove the skirting boards before plastering?
Ask your plasterer. Whether skirting boards need to come off depends on the job, so agree it in the written quote along with who does the work.
What to do next
Preparing your room properly ensures the work starts on time and finishes to a high standard. A clear room and a clear written agreement protect your home and your budget.
Use this checklist to get everything ready before the van arrives:
- Clear all furniture, soft furnishings and wall hangings from the room.
- Decide who strips any old wallpaper, and agree it in writing, because paying someone else is an extra cost.
- Hire a plumber to remove the radiators if the walls behind them need skimming.
- Tell your chosen tradesperson about any textured coatings if your home was built or refurbished before 2000.
- Get a written quote that breaks down the preparation, floor protection and waste removal.
- Check your buildings insurance with your provider before the work starts.
Once your room is empty and the paperwork is agreed, you are ready to find a plasterer near you and get the job started.
Find a top rated plasterer near you
1,036 plasterers across the UK, each ranked on their Google rating and the number of reviews behind it. Start with your county: