
What Is Microcement and How Much Does It Cost?
TopRatedPlasterers.co.uk · 7 October 2026
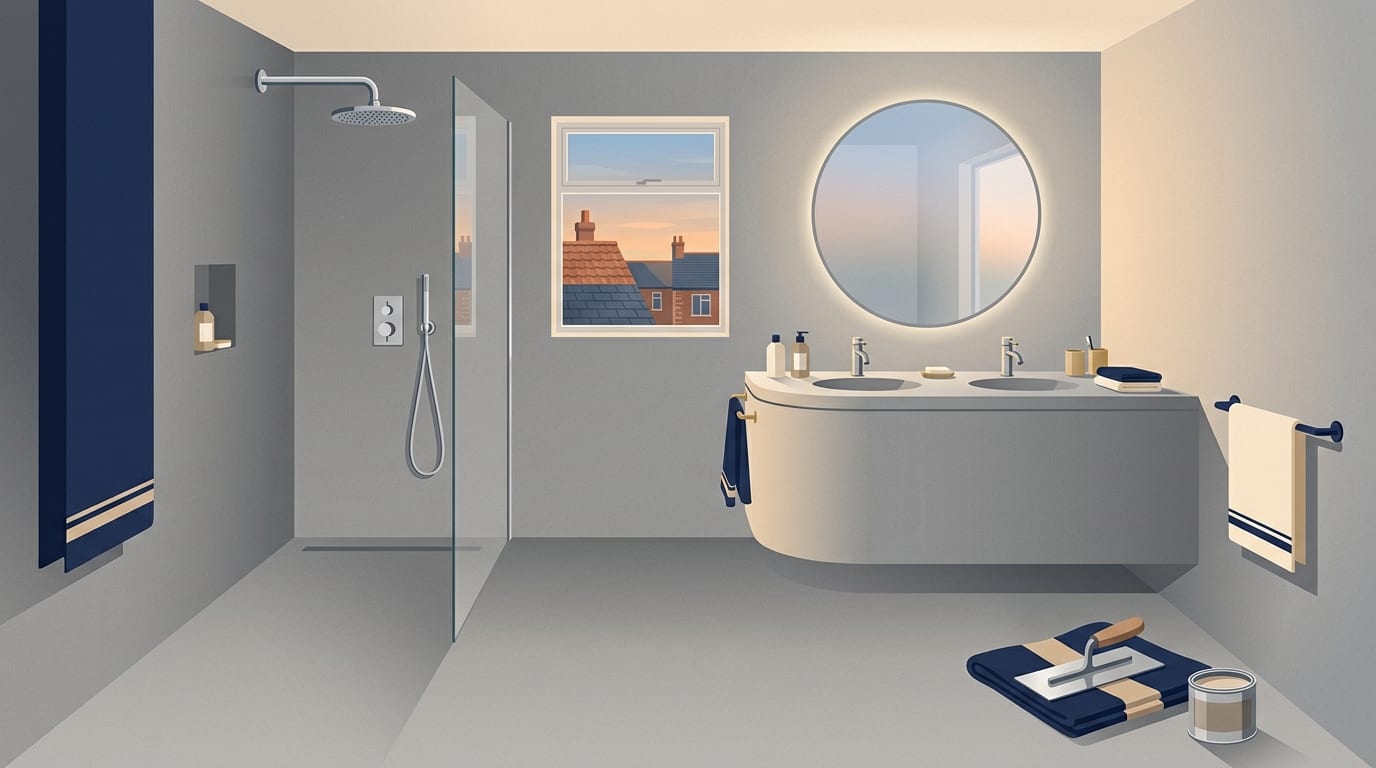
Microcement is a thin cement-based decorative coating, typically around 2 to 3mm thick in total, which is trowelled on by hand in multiple coats, then sanded and sealed. It gives a seamless polished-concrete look to floors and walls without the heavy weight or thickness of poured concrete. Expect to pay £80 to £160 per square metre for a microcement floor, though small areas often carry a minimum charge and quotes may have VAT added on top.
The product itself is a specialist mixture of cement, polymers, fine aggregates and additives. It is laid much thinner than the roughly 100mm layer usually needed for a polished concrete floor. A microcement system weighs just 2 to 3kg per square metre, making it lighter than most standard ceramic tiles.
Because microcement is applied by hand with a trowel, the finish is unique every time. The applicator builds up the surface in very thin layers, creating subtle textures, tones and movements in the final finish. It is a highly skilled job that sits somewhere between traditional plastering and specialist decorative flooring. You can read more about similar hand-trowelled decorative finishes in our guide to venetian plaster and what it costs.
Where it can go in a home
Microcement bonds to the surface that is already there, so it can go over tiles, screed, plasterboard, plywood and existing worktops, provided the background is solid and stable. It is most commonly used for floors, wet room walls, shower enclosures, feature walls, kitchen and bathroom worktops, and flights of stairs.
The surface underneath must be rigid. Any flex, bounce or movement in a floor will transfer straight through and crack the thin microcement layer above it. Suitable backgrounds include fully cured screed, standard plasterboard and thick, well-secured plywood. If the background is poor, it must be repaired or replaced before the decorative coating is considered.
One of the main advantages of microcement is that it can go directly over existing tiles. This saves the time, dust and waste of hacking off old bathroom walls or breaking up a tiled kitchen floor. The existing tiles must be checked carefully for cracks or loose areas first. The installer will then grind the glossy surface of the tiles to create a key, apply a bonding primer and embed a fibreglass reinforcing mesh in the first base coat.
If a wall you want covered has a textured coating such as Artex, tell the installer before they quote. The Health and Safety Executive says textured coatings may contain asbestos in any building built or refurbished before 2000. Work on them does not normally need a licensed contractor but must be done by people trained to work safely with asbestos, so do not sand, scrape or drill a suspect coating yourself.
Microcement in bathrooms and wet areas
Seamless finishes are heavily requested in bathrooms because there are no grout lines to trap dirt, hold moisture or turn yellow over time. Microcement works very well in these spaces, but it is vital to understand that the coating is not completely waterproof on its own.
When used in a shower enclosure or a wet room, the microcement must be applied over a proper tanking system. Tanking is a waterproof membrane painted or applied to the bare walls and floor before any decorative finish is added. The microcement relies on this hidden tanking layer to stop water reaching the plasterboard or screed behind it. Our guide to waterproof plaster for a bathroom explains how these background moisture barriers work.
Specialists recommend using a microcement product specifically designed for wet areas, always incorporating a fibreglass mesh as a supporting base layer. The sealer applied at the end of the job protects the microcement surface itself. The installer must use the correct sealer for a wet environment, and you will need to take extra care at the joints where the walls meet the floor to ensure they remain sealed and watertight as the house settles over time.
How much microcement costs
Microcement pricing depends heavily on the size of the area, the complexity of the shape and the condition of the surface underneath. The table below outlines typical costs for different jobs in a home.
|
Type of microcement job |
Price per square metre or item |
|---|---|
|
Large floor on a good surface |
£80 to £110 per square metre |
|
Average floor with some preparation |
£110 to £150 per square metre |
|
Feature wall in a dry room |
£100 to £140 per square metre |
|
Bathroom or wet room walls (with tanking and sealing) |
£130 to £180 per square metre |
|
Shower enclosure or heavily detailed wet area |
£180 and up per square metre |
|
Kitchen worktop run |
£600 to £1,500 or more |
|
Flight of stairs |
£1,500 to £3,500 or more |
These are typical published guide prices for 2026, and local quotes will differ based on your specific room. Some published figures put a quality product and installation at around £140 to £160 per square metre plus VAT, so check whether each quote includes VAT. Small areas carry a minimum charge.
What pushes the price up
Microcement is labour-intensive, and the price you pay largely reflects the time and specialist skill required to build up the layers.
Several things will push a quote towards the higher end of the range:
- Area and layout: Small, complex or heavily prepared floors start at £150 per square metre and go up from there, because awkward corners and tight spaces take much longer to trowel.
- Substrate condition: If your current floor or wall needs extensive levelling, grinding or repair before the first coat can go on, the preparation costs will rise.
- Wet area preparation: Showers require specialist tanking and highly durable sealer systems, which add to the material costs and the time on site.
- Number of coats and the finish: Bespoke colours, high-polish effects and specialist textures take more time and sanding to achieve.
- Installer skill: Experienced applicators charge more, and a cheap quote may leave out preparation.
- Access and protection: If the installer has to protect finished floors, navigate narrow stairs or work around existing kitchen units, the job will take longer.
How it is applied and how long it takes
Microcement is not a quick fix that can be completed in a single afternoon. Because the system involves multiple very thin layers that must dry before the next one is added, the installer has to return to the site over several days.
The application follows a strict sequence:
- Surface preparation is completed to ensure the background is completely flat, stable, clean and free of dust.
- A bonding primer is rolled on to help the microcement system stick to the surface.
- A fibreglass reinforcing mesh is laid into the first base coat to provide strength and prevent cracks.
- Usually two base coats are applied, providing the main structure of the new surface.
- Usually two finish coats are trowelled on, creating the final texture, movement and colour.
- The surface is sanded between coats to remove high spots and refine the finish.
- Two or more coats of sealer are applied to protect the microcement from stains, water and daily wear.
Applying microcement is generally a five-day process. Even a small bathroom is usually a three to five day job once curing and sealing are included. A larger floor can take a week or more, and the area will be completely out of use for several days while the work happens.
Once the final sealer is applied, you can normally start light use of the floor after 48 hours. However, the floor should be protected from heavy traffic, pets and furniture for a further five days while the sealers reach their full strength.
Microcement with underfloor heating
You can use microcement over underfloor heating, but the preparation must be exact. The heat causes the floor to expand and contract, and if this happens too quickly, the microcement will crack. Not every underfloor heating system is suitable, so you must check with the manufacturer and your installer first.
Cracks usually start in the screed when the heating is first turned on, which is why the heating should be run through a full cycle before the microcement goes on. New screeds must be fully cured and dry first because damp substrates cause failure. Our guide to floor screeding cost explains how these background floors are laid.
To prevent problems, the screed should be left to cure for at least three to four weeks. Its moisture content should also be checked with a meter and be low enough for the microcement system being used. The heating must then be commissioned gradually. This means turning it on at a low temperature, slowly increasing it over several days to put it through a full heating cycle, and then letting it cool.
The heating must be switched off at least 48 hours before the microcement goes on. During the application, the floor itself should be no warmer than 18 degrees Celsius.
Cracks, repairs and how long it lasts
A microcement floor or wall is durable, but it requires the right care to stay looking sharp. Published lifespans range from around 5 to 10 years to over 10 years, depending on the quality of the application, how the surface is used and cared for, and how well the sealant joints are maintained.
The single biggest cause of failure is poor preparation. If the surface underneath moves, bounces or cracks, the microcement will crack with it. Damp substrates will also cause the coating to fail and lift away from the floor.
You must clean microcement with pH neutral products. Harsh chemicals, bleach or abrasive scrubbers will strip the sealer and leave the floor vulnerable to water and dirt. The surface can also stain easily if the wrong sealant is used for the room, or if spills are left sitting on the floor for too long.
If a section does get damaged, microcement is not easy to patch. It is almost impossible to repair a spot seamlessly because the colour and trowel marks of the patch will never perfectly match the rest of the floor. For this reason, a repair is usually followed by recoating the whole surface to restore the seamless look.
Common questions
What is microcement over tiles?
Microcement can be applied directly over existing floor or wall tiles to save the disruption of removing them. The tiles must be completely stable and checked for cracks. The installer will grind the glossy surface of the tiles to rough them up, apply a primer, and embed a fibreglass mesh in the base coat to stop the old grout lines showing through the new finish.
Is microcement waterproof?
Microcement is water resistant once sealed, but it is not waterproof on its own. In wet areas like showers or wet rooms, it must be applied over a proper waterproof tanking system. The tanking keeps the water out of your walls, while the microcement and its final sealer provide the decorative finish on top.
How much is a microcement kitchen worktop?
A microcement kitchen worktop run typically costs £600 to £1,500 or more. The price depends on the length of the run, the complexity of the cut-outs for sinks and hobs, and the condition of the existing surface underneath. It is a popular way to update an old, solid worktop without replacing the entire kitchen.
What does a microcement bathroom cost?
Applying microcement to bathroom or wet room walls usually costs £130 to £180 per square metre, which includes the necessary tanking and sealing. Shower enclosures or heavily detailed wet areas cost £180 and up per square metre. Small areas also carry a minimum charge.
Choosing an installer
Plastering and microcement application is not a licensed trade. There is no legal register like the one for gas engineers, so evidence of past work matters. A CSCS card is for construction sites, not proof of quality on domestic work. FIS is the trade body for the finishes and interiors sector, and TrustMark is the government-endorsed quality scheme.
Ask for two or three recent examples of similar work they have completed. A good installer should have photographs and addresses of finished jobs and should be able to provide a sample board showing the exact colour and texture you are agreeing to. You should also check the trader has public liability insurance to cover any accidental damage to your home, and ensure that anyone taking waste away is a registered waste carrier.
Cash-only deals with nothing in writing make it much harder to get things put right if the floor cracks a month later. Citizens Advice suggests you try to get written quotes from at least three different traders. Remember that a quote is a fixed price, while an estimate is just a rough guess, meaning you might end up paying more.
A written quote should include a fixed total price rather than a daily rate. It should list a breakdown of the work and materials, separate costs for each material and part of the work, how long the price is valid, whether it includes VAT, and when the price can go up. Watch out for quotes that omit vital steps like preparation, wet area tanking, scaffolding if required, or waste removal.
Avoid deposits or upfront payments where possible. If a deposit cannot be avoided, do not agree to more than 25 per cent of the total cost. Pay by debit or credit card if you can and do not pay with cash, as card payments offer better protection if things go wrong. Depending on how you agree the contract, you might be able to cancel within 14 days of agreeing the work.
Under the Consumer Rights Act 2015, the work must be done with reasonable care and skill. If the microcement cracks due to skipped preparation or poor application, you can ask for it to be put right or seek a partial or full refund.
Your next steps
Before you hire someone to lay a microcement floor or finish a bathroom, run through this checklist:
- Check your current floor or wall is solid, stable and free from damp.
- Ask the installer for a physical sample board of your chosen colour and finish.
- Confirm exactly who is supplying and fitting the waterproof tanking if the work is in a shower.
- Check the quote includes all preparation, primer, mesh, base coats, finish coats and sealers.
- Ask how long the floor must be protected before you can move furniture back in.
- Get a fixed written quote with a total price, not a daily rate or a rough estimate.
- Ensure the installer has public liability insurance and never pay the full amount upfront in cash.
Taking the time to check the preparation and the paperwork means you are far more likely to get a floor that lasts. When you are ready to get quotes, you can use our directory to find a plasterer near you.
Related Guides
External Wall Insulation Costs, Grants and What Can Go Wrong
What external wall insulation costs in 2026, how it goes on under render, where to check for grants, what it could save and the quality checks to make before you sign.
How Much Does Floor Screeding Cost?
What floor screeding costs per square metre and per room in 2026, how traditional and liquid screeds differ, and how long a new screed takes to dry before flooring.
How Much Does a Stud Wall Cost to Build?
What a new stud partition wall costs in 2026, timber or metal studs, the extras for doors, insulation and special boards, and the building regulations that apply.